If you own a sewing machine but rarely ever use it like me, this little sewing project may well be for you. I am going to apologise in advance for not using the correct sewing jargon, but as I said in my previous post here the extent of my sewing education is year 9 & 10 textiles and design at high school. I finished year 12 in 1996 so that gives you an idea of how long ago my sewing education took place. I had a very talented teacher her name was Mrs Forsyth she was fantastic! I on the other hand take lots of pride in the way I thread a needle and feed a bobin, the rest is a bit hit and miss. I love trying to attempt little sewing projects when I have the time.
This little sewing project ‘The baby horse Rattle’ is something I have now made 4 of (don’t go overboard there Zamama!!), it’s all about pacing yourself and I’m sure you know what I mean. The first rattle I made was for our 3rd little one, Alani and since then I have made 3 as gifts which have been received with much appreciation (there’s something extra special about giving a gift you have made yourself).
The little rattle above I made just last week to include in a baby shower gift for my lovely friend Sally expecting her first little girl. I made the rattle up in an evening, taking me about 2 hours in total. For an experienced seamstress it would probably only take 1/2 an hour!!! (hehehe) it’s all about having a go.
You will need:
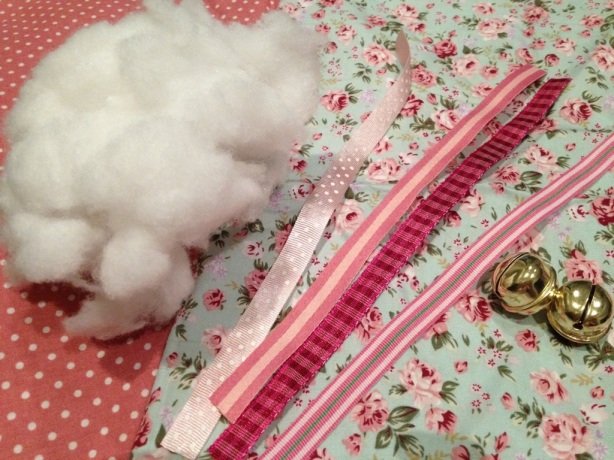
2 x pieces of cotton fabric 30cm in length and 15cm in width (to be safe)
7 x 11cm lengths of ribbon
2 little craft bells (approx 1.8cm diameter)
pillow filling (I just used a very basic filling I found loose in my sewing bag)
Of course your sewing machine, some pins, baking paper, needle, thread, scissors, a pen and some patience will also come in handy!
As you can see I traced a very basic outline of a horse onto a piece of baking paper 21cm length x 8.5cm at the widest point. You can pretty much use any shape and size you like and just follow the general instructions as a guide.
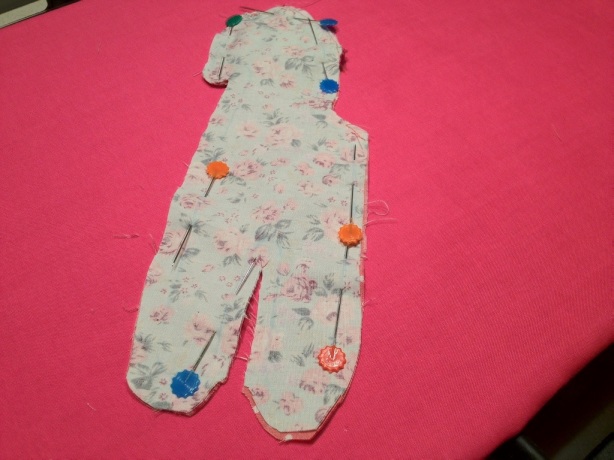
Once you have your rattle shape traced and cut now becoming your pattern, pin it to your 2 pieces of fabric right sides touching each other as pictured.
Before you cut your fabric remember to leave an extra 1.5cm for your seam allowance (meaning cut the fabric 1.5cm wider then the pattern as pictured above.
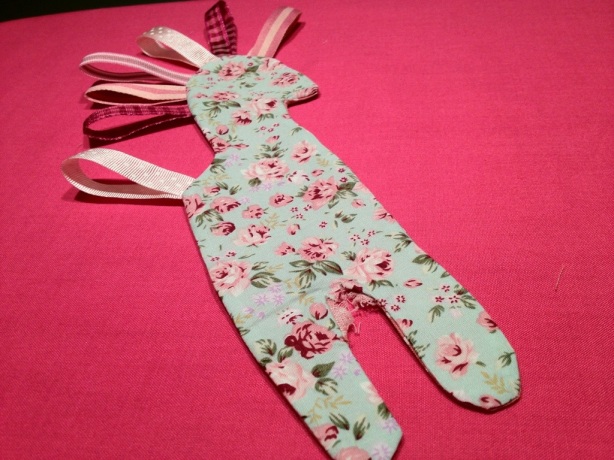
Separate the 2 pieces of cut fabric and place them right side up, you should end up looking at a mirror image of the shape.
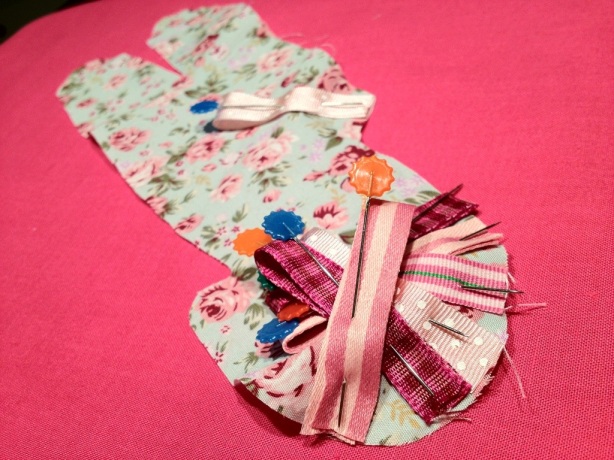
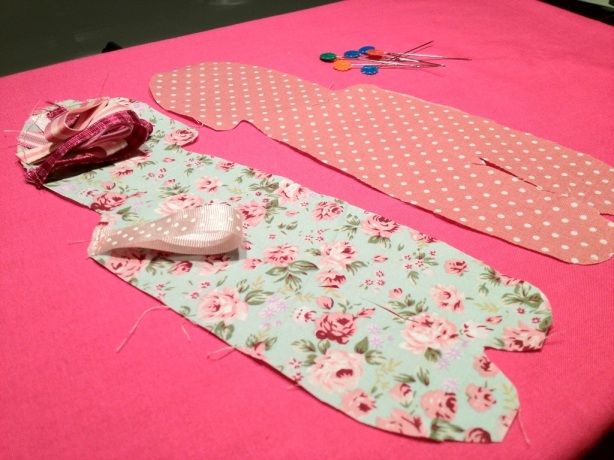
Select one piece of cut fabric (it doesn’t matter which one) and pin your 7 ribbons folded over in thickness, aiming 6 of the ribbons inward down towards the centre of the horse’s head and 1 ribbon inward and down towards his front foot as pictured, also making sure the open ends are facing the outside of the cut shape, (sorry if this sounds confusing ,hopefully the picture above brings it together).
NOTE: I only used a basic straight stitch for the entire project.
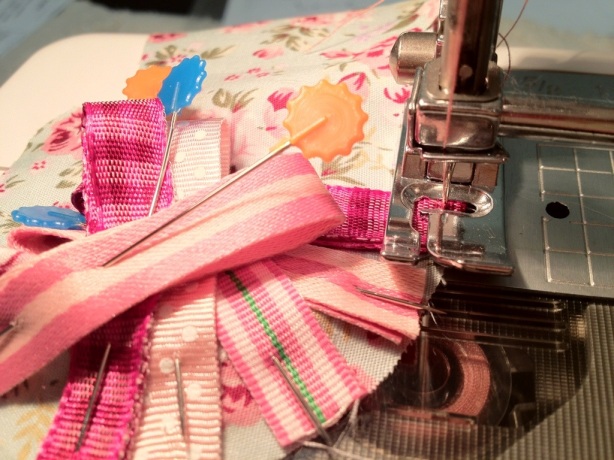
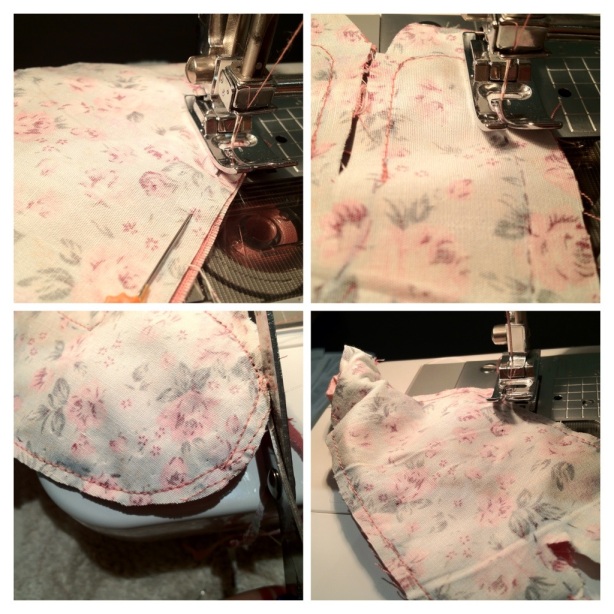
You now need to sew the ribbons in place. You need to sew close to the edge about 3mm in as it is just to hold the ribbons in place for when you sew your 2 pieces together (saves the complications of them moving all around and getting caught up).
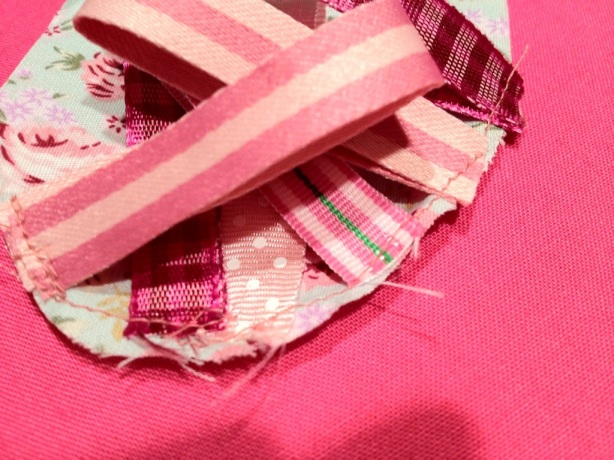
This is what you should end up looking at up the head end.
Again lay your 2 pieces of fabric right side up as shown.
Now pin the right sides together again. Trace a rough sewing seam line to guide you where to stitch, I marked mine about 1cm in with a pen lightly.
Stitch the seam starting on the inside of one leg and finishing on the inside of the other leg, remembering you need to leave an opening big enough for turning the fabric through the right way and also being able to fill the rattle with the pillow filling and bells.
There are quite a few curves with this shape. I found using the needle as a pivot useful for manoeuvring (a little bit of stopping and starting but worth it).
Once the machine stitching is complete you need to trim all your edges, so they are not too bulky when you turn them through.
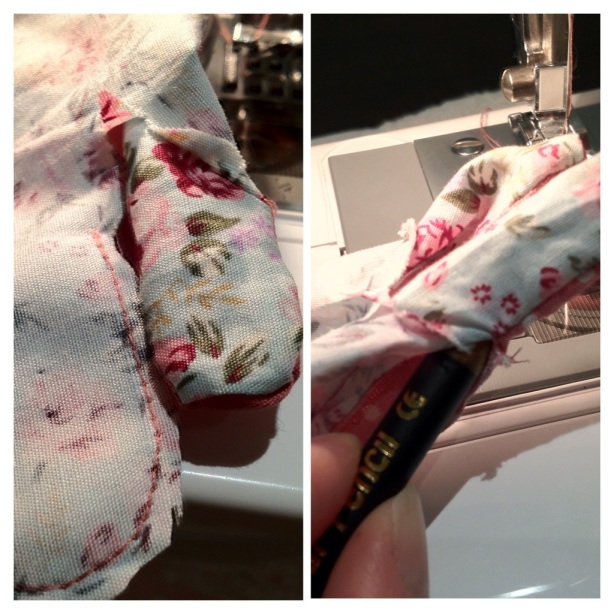
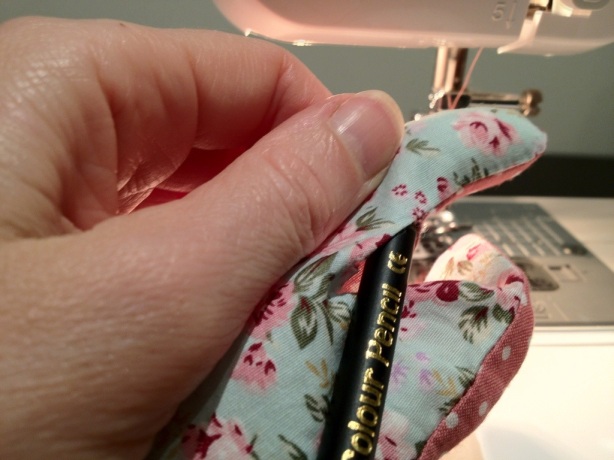
Your next challenge is to turn your little horse in the right way. You just have to work with delicate hands. This part does take a little patience and shuffling, you will get there, I found the blunt end of a pencil helped to push the limbs and head right out.
Carefully press your horse out with an iron (only use a cool setting as you don’t want to scold the ribbons like I did with my first attempts).
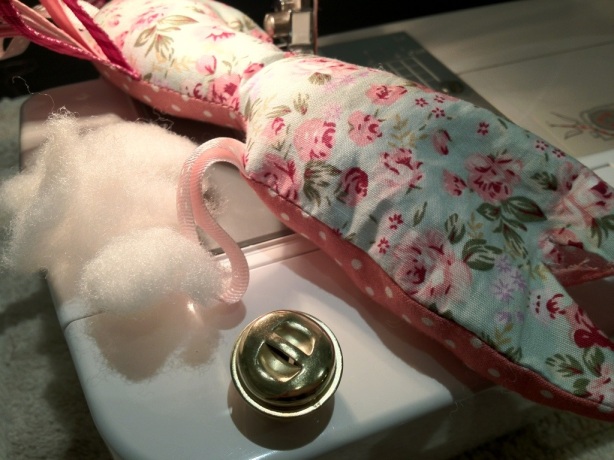
Fill the horse with the pillow stuffing incorporating a bell centrally into the head and 1 centrally into the main body, but make sure the stuffing surrounds them well.
Again the pencil comes in handy for packing in the filling snugly.
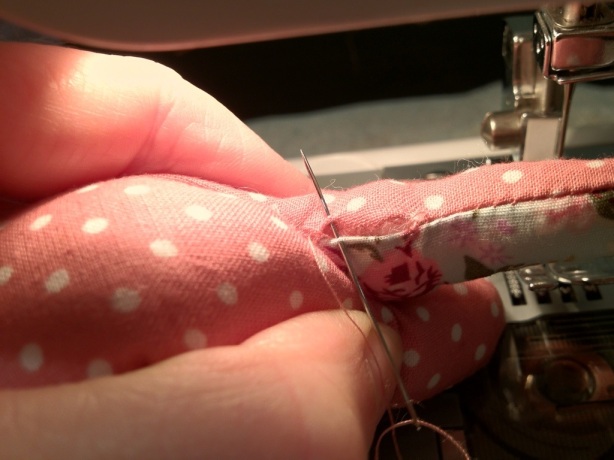
Once you have a well filled out horse, you need to stitch/bind up the opening with a needle and thread. Just leave a pinch of loose fabric in the crutch area (remove a little filling if need be) so you have a good enough edge to stitch through. This bit is a little tricky, you need to turn the raw edges in on themselves so from the outside they look closed. I doubled back over my first lot of stitching just to be sure the closure is secure and durable.
The finished product front side and back.
If any of you find or know an easier way to do any of this little craft project please let us all know, I appreciate any constructive critism.
On that note it’s off to shower Zakidlets and get dinner organised.
I am looking forward to sharing a fantastic easy Cheese Ball recipe with you all on Sunday, it’s delicious!!
Until then,
Zamamabakes.


